The Future was 8bit making 8bit things since before it was fashionable
Featured 8bit things
-
£59.99 – £68.99
-
£39.99 – £72.97
-
£39.99 – £41.66
-
£62.99 – £69.99
-
Original price was: £21.66.£14.99Current price is: £14.99.
-
£33.33 – £38.33
-
£199.99 – £289.99
-
£333.33 – £411.33
THE FUTURE WAS 8BIT WAS BORN AROUND 2012, IT WAS UNPLANNED JUST LIKE MOST OTHER THINGS! #WINK
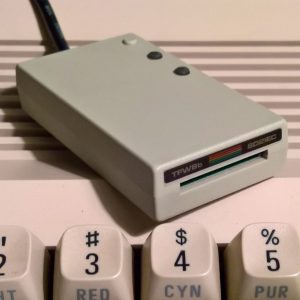
Around 2011/12, I wanted some SD2IEC PCB’s for a crazy C64 laptop idea I had (C64p). But at the time, most people didn’t know what an SD2IEC was, let alone sell them. Every so often one might come up on ebay. Some worked, some didn’t, some had missing parts. After buying 4 like this, I decided to get my own PCB’s made and sold the left overs from the batch on ebay. To my surprise they all sold out in a week (about 8 of them), so I thought I’d get some more PCB’s to use up the stock of transistors etc. A few months later I realised the internet liked my stuff!!.. So, over time, my bare PCB got a blue box, then a custom moulding. And some time in the middle of this ‘The Future was 8bit’ Ltd company was formed and the rest as they say is history.
